 |
| ...for Barbie. :) |
Showing posts with label my stuff. Show all posts
Showing posts with label my stuff. Show all posts
Wednesday, January 7, 2015

Thursday, September 18, 2014
A Little Project of Celebration
 |
| For a few days my grab this |
 |
| when I sit down project was |
 |
| this four page entry in my |
 |
| sketchbook. It was kind of to practise illuminating capital letters and really to remind myself that there is so much to celebrate in my faith in Jesus Christ. |
Wednesday, March 19, 2014
Doodling Digitally
 |
| I know I'm not an accomplished artist. I refuse to be frustrated (most of the time) so, I doodle. Today's doodle is digital. I started with a photograph. Using Gimp, I made it gray(s) then I broke down the grays by "posterizing" it. |
 |
| I tried adding some color with bucket fill. |
 |
| There is an option called "make seamless" in Gimp. I liked this image. |
 |
| The purpose of a "seamless" image is to make a multi copy without obvious dividing lines. I like this one, too. |
 |
| Then I went back to dumping color into the image. Ta daaaa! (ahem) Well, it was fun. :) |
 |
| Oh, here is the original photo. Too enigmatic? It's crumpled tissue. :) |
Sunday, March 2, 2014
and a Doodled Door
 |
| I lost my hearts |
 |
| to some tulip doodles. :) This is the adhesive backed paper found at Goodwill (it was a large roll) and Sharpies bought on sale at Target. |
Thursday, February 27, 2014
Another Window Doodle!
 |
| This time, I drew a simpler pattern. I wanted to see if Sharpies would let the color through. |
 |
| It worked! The black part is still Jot marker from Dollar Tree. I wonder if there is truly clear adhesive backed vinyl out there... :) |
Wednesday, February 26, 2014
Window Doodle
 |
| You may have noticed, I like to try making things, whether I know what I'm doing, or not. If you would like to try this, I will tell you how I did it. I got a roll of "clear" adhesive backed vinyl from Dollar Tree. I already had some permanent markers. Now, I would suggest you skip my next two steps. |
 |
| First, I colored the wrong side. Second, I discovered when I started to peel the backing paper that my image was colored on the backing paper. |
 |
| Third, I colored the right side. I used Bic Mark Its and a Jot black marker. I know the Bic Mark Its are translucent. I wonder how Sharpies would work... :) |
Tuesday, February 25, 2014

Friday, January 10, 2014
Doodling Plus Digital
 |
| Sometimes I get in the mood to doodle and experiment with the doodle. Now, I could print out multiple copies and color them by hand. That is fun, sometimes. Then, there's this other thing I do. After photographing my doodle and cleaning it up, using Gimp... |
 |
| I start playing with the colors. |
 |
| If I save in the right places, trying different options is easy and quite fun. |
 |
| A little pink |
 |
| and a little black |
 |
| and a little gray make something fun. |
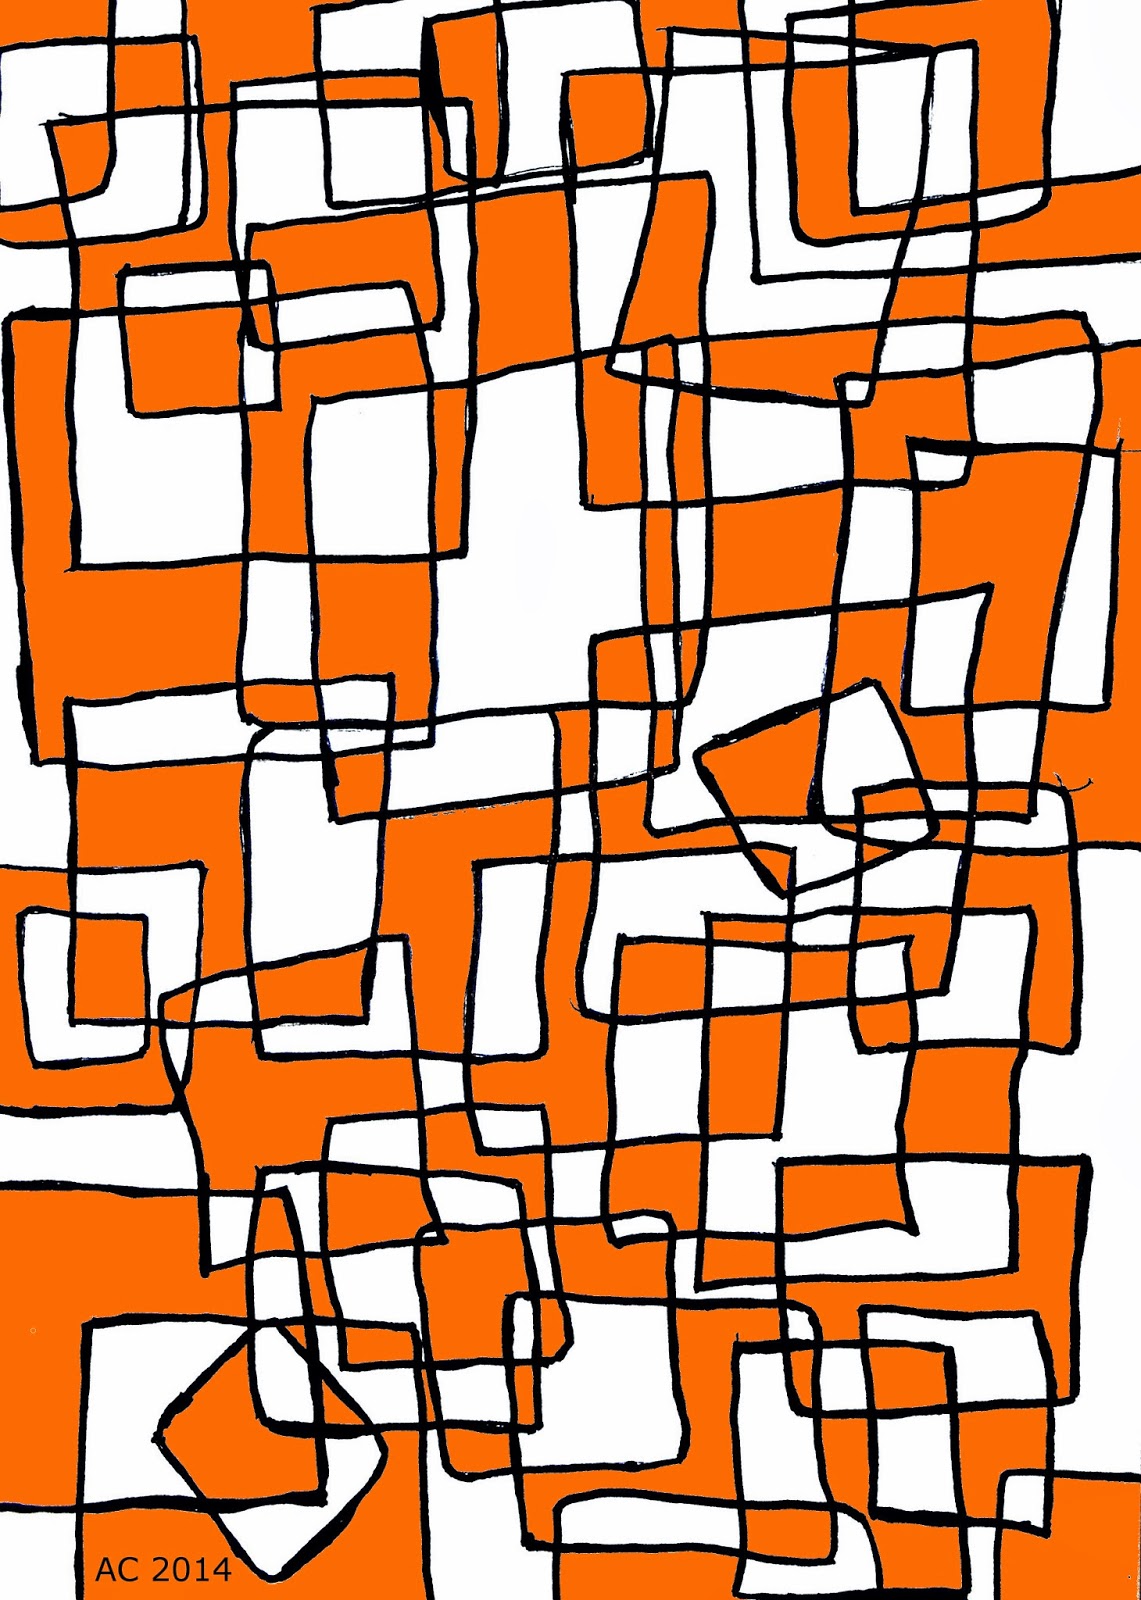 |
| Orange and white or |
 |
| orange and black? |
 |
| How about some purple? |
 |
| Add some black... |
 |
| some more black... |
 |
| maybe more... |
 |
| Well, something in the yellow family might work. |
 |
| OK, start with red |
 |
| and black |
 |
| (all black?) |
 |
| I'll back up to one of those earlier ones because if I tried to use a white bucket fill my lines might turn white, too. |
 |
| Let's go yellow for bold contrast. |
 |
| As long as we have two primary colors, why not try the third? |
 |
| Hmmm... I kind of like this, but let's see what it looks like with |
 |
| more of a gold. :) I see the colors don't always come through the way I thought I made them. Oh, well. I've had fun and I can think of more color combinations to try. |
Saturday, December 21, 2013
More Glue and Glass
 |
| I found this tissue paper at Dollar Tree. I love it. I thought, perhaps, my niece, Eva Girl, would enjoy it. Her attitude about celebrating snow, to offset the dread of a long Winter, is quite inspiring. So, I pulled out some glue, spread it around with a wet paintbrush, and added torn (or was it cut?) scraps of tissue. It still looked "papery." I thought I had read that using Aleene's tacky glue as a glaze might work. Since my opened bottle was thickening up, I gave it a shot. I loved how it came out. |
 |
| I had already done this little candle holder with plastic glitter from Joann. The glitter only cost a dollar. It was not easy to work with due to static electricity, and glazing over it to keep the glitter from "shedding" took away the snowball look I liked. I liked the end result, though. I think Eva Girl did, too. :) |
Notes:
I had to dry the tissue covered jar thoroughly before adding my tacky glaze.
The finished "snowball" was not glazed.
Wednesday, December 11, 2013
Oh, Boy! JOY!
 |
| OK, so it didn't end up the way I thought it would. OK, so it would have been a lot less work to do it "right." It cost me nothing but what I already had. It says what I wanted it to say. |
 |
| I had a roll of contact paper. I bought it at Goodwill for $1. I had some permanent markers. I bought them at Wal-Mart for around $13. They were both well used, before I started this. What I really thought of was a lush, three letter motto that reminded us of the Reason for the season. This will do... ...for now... and it peels off easily. :) God bless you with Joy beyond the merriment. |
Tuesday, December 3, 2013
Gluing What I Have, Plus a Little
With the lights on:
 |
| I got out the good old Elmer's School Glue, again. I stopped at Dollar Tree for a pack of tissue paper. I may have some tissue paper, but this was cute... oh, dear. I did have the footed bowl, though. That was a thrift store find. I don't remember how long ago or what I paid for it... |
By candlelight:
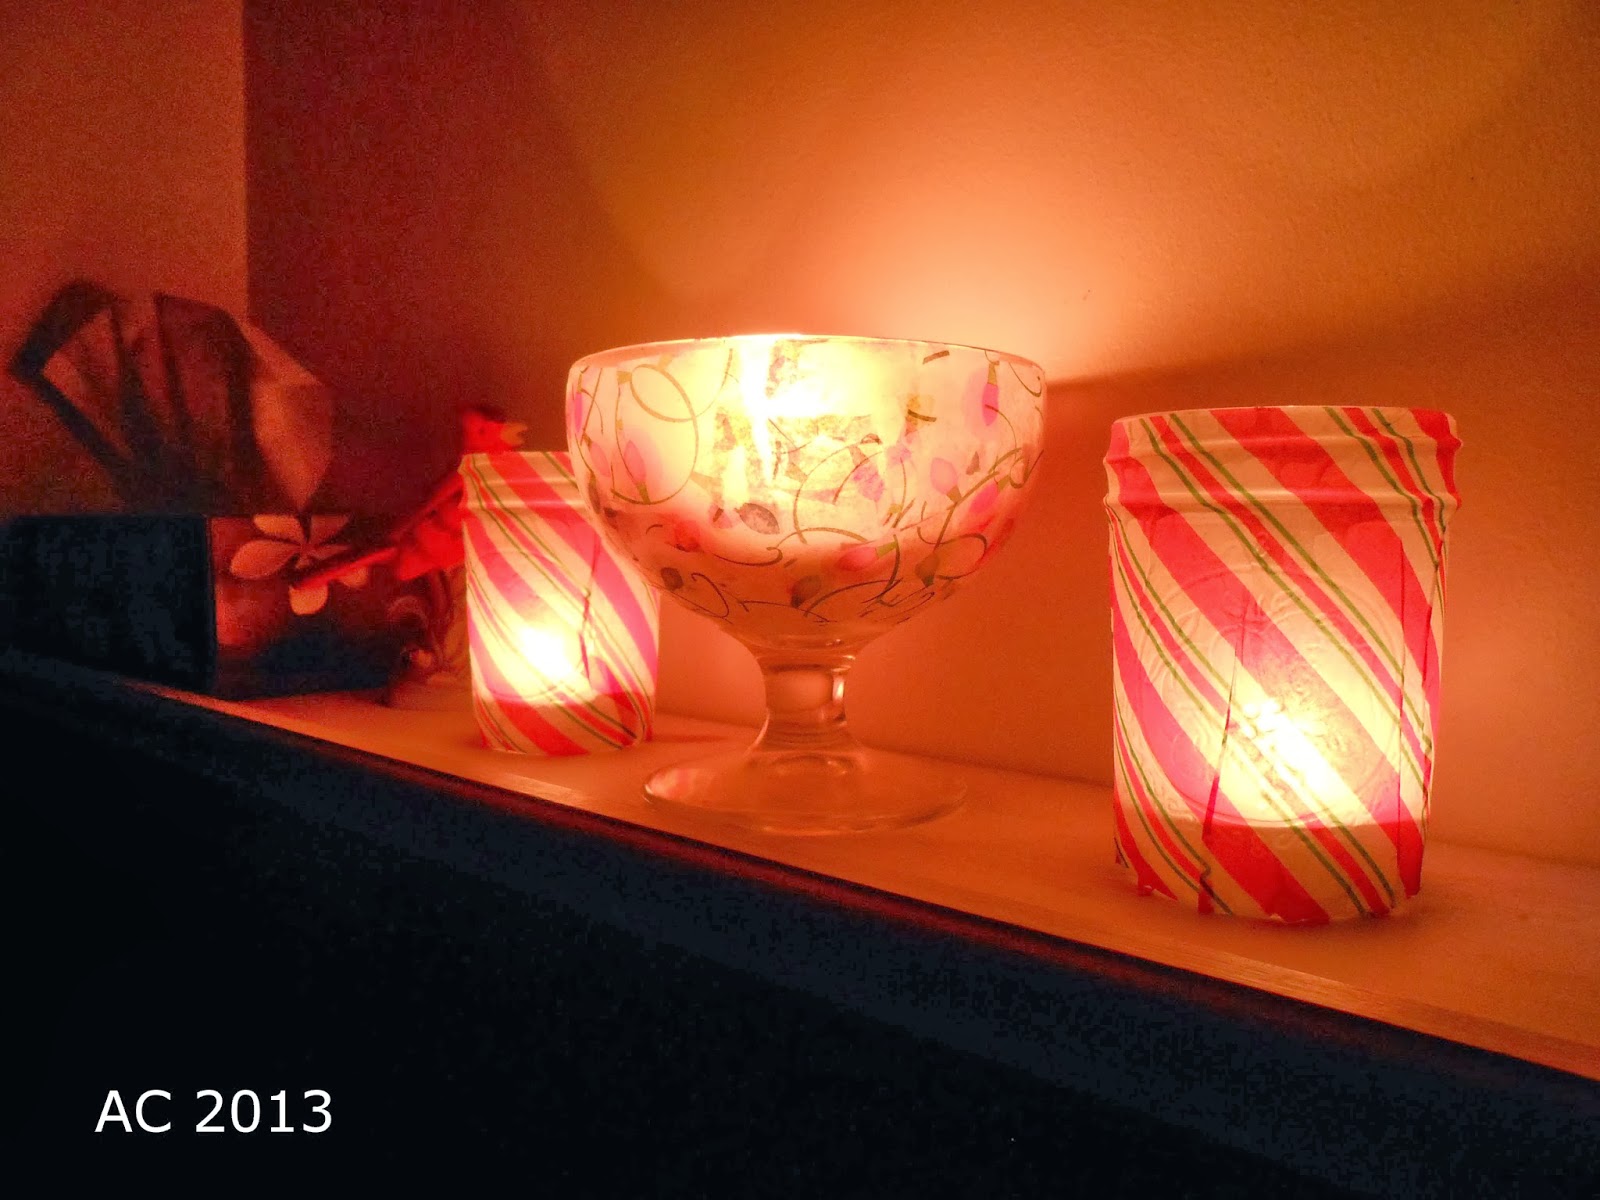 |
| The candy striped votive holders are empty Ball jars from my cellar. The tissue was cut almost to size for the jars. For the bowl it was torn into small pieces. I spread glue over the glass with a wet paintbrush. The patchy paper was put on, a piece at a time, overlapping. To save cutting, I lined straight edges up with the rim of the bowl. For the jars I "painted" the whole thing with glue and water. Lining up the straight edge with the rim of the jar, I pressed the top into place. The taper of the jar made for wrinkles in the tissue. I didn't mind, I just kind of glued them over. I also brushed gluey water over the top of the paper. This can tear the wet tissue, so, it was an adventure. |
 |
| Eat Violets! (et voila) I popped some tealights from my supply and a over-half-burned pillar candle from Christmas past into my little vessels and lit them. Total out of pocket cost: $1 AND I still have most of the tissue. :) |
Monday, December 2, 2013
More Recycled Cone Trees
 |
| We only buy a newspaper once in a while. This is one of those free papers from the supermarket. Does everybody have those? |
 |
| I got very technical about drawing circles on my paper. |
 |
| They got cut out |
 |
| then cut in half |
 |
| and in half, again. I was very technical about bisecting my circles, too! I folded them in half. |
 |
| A little (or a lot) of glue. |
 |
| and a little fiddling to get the sides glued together just right (not) |
 |
| and I soon had a small forest! If I hadn't been so lazy, I could have made different sizes. :) |
Subscribe to:
Posts (Atom)