Showing posts with label low cost/no cost. Show all posts

Wednesday, September 3, 2014

Sun Tea and a Doodle

Everybody knows you can put tea
and cold water in a clear glass
container, put it in the sun
and get tea, right?

Uncle Si likes cold tea on a hot
day.  I was procrastinating
about hunting out a
"perfect" jar in which to make
sun tea.

Ummm...
I grabbed this small pitcher
out of the cupboard,
added cold water , tea and
a discarded yogurt lid -
very handy to have a couple around,
but a small plate or saucer
would do just as well -
and there we go.
Which reminds me,
I must make some more.

Doodling does something for me.  :)

Monday, April 28, 2014

A Little More Plarn

If one is really interested,
there are many things
made of plastic bag yarn
to view on the internet.

I made the small pouch
with blue yarn & plarn
as a camera protector.

I switched to just yarn
on the top part
so it would  be easier
to close.

That is a button
used as a closure.

This bag is all plastic.

I meant to make it bigger,

but I like it, anyway.   :)

Thursday, April 24, 2014

Playing With Trash - Plarn

You know what "plarn" is, right?
I just found out about this a couple of
years ago.
It's plastic, used as yarn, as far as
I have figured it out.

I know there is more than
one way to make plarn.
You can look it up on the internet.
I did.
Here is the method I use.

Take one plastic bag.

Flatten the bag out.

Cut away the parts you won't use.
I do this by folding the bag over
so I won't have so far to cut.

Cut off the bottom (where it is stiff.)

Cut off the handles so that which remains

is a fairly even tube, like this.

Flatten out the tube and fold it over
somewhat evenly.
Smooth it out.

Beginning at the edge where the folds
are inside each other,
cut in fairly even strips toward
the edge where
 the folds are on top of each other.

STOP SHORT OF CUTTING
THROUGH THOSE TWO FOLDS.

It will look something like this.

(You can fold the top layer
down so that you cut right
through it, saving the next
step, but this way is easier
to show in a photograph.)

Open it out and cut through
ONE SIDE of the bag, like this.

(You can just cut from one side
 of the tube to the other.  I find
it easier to fold it.)

Now, this is the part
I mess up, now and then:
On the other side,
cut into the first row from the
outside, starting your
continuous strip.

It will not look right,
but it's plastic - the strip
will be straight enough
to work with.
You can probably do a better
job than I on all this cutting.

Drop down and do the same on each row.
If you goof up, remember this
was just going to be recycled... :)

One grocery bag makes
a nice little pile of plarn.

I like to roll mine up

into a loose ball.

Then I plop it into a container
with some other plarn balls,
where they do NOT stay
all nice and tidy.

I have used the plarn alone
and combined with other yarn.

For this small bag  I used
some purple and some red
acrylic Red Heart yarn.

It actually stands fairly well.

This is crochet.
I tried knitting with
the plarn alone.

I didn't like it

Perhaps I shall have
to try knitting with the
combination.

Perhaps not.  :)

Friday, February 14, 2014

Heart-y Wall and Window Stickers

Happy Valentine's Day!
Obviously, I made some heart stickers
and put them on the bathroom door.

If you remember my JOY stickers
you can dimly see the silliness
in which I indulge.
I tossed the J, but moved the Y
to leave "YO" on the wall.

These peel off quite easily.
With the "bought" butterflies,
I stuck them on something
else, first, to make them more
low tack.
They should come off,
but I wanted to be sure.

I'm really enjoying these
translucent hearts.
I haven't captured the
translucence very well.

There was a clear contact paper
at dollar tree.  I used my Bic Mark It
markers, which are translucent, on the
clear contact paper. 

The way it comes out shows up
a little in this example.
I added glitter glue. :)

Sunday, December 22, 2013

Candles for a Short Day

This is my "snowball" candle holder
with battery powered lights that
I've been using in my kitchen window.

December 21st was the shortest day,
or Winter solstice.  I love candles and
it was getting dark.

I happened to have some candles around...
These took over the windowsill.

I have enough muffin tins, but when
I found this one at Goodwill last
Summer, I saw it as a cool candle holder.
This idea is not original, to me.
The first time I saw it was in a magazine
(Country Home or Country Living)
and the muffin "tin" was cast iron.

This angle really shows the diversity of
flame size.  These were very inexpensive
candles and some had been used before.

I lined up three evergreen scented
tiny jar candles in front of three
grapefruit.

This well used pillar candle snuggled
right down into my "dolly punch bowl,"
which may be a salt cellar.

I've shown these bathroom candles
before.  The little jar candle is new

and heated into a beautiful clear red
liquid.

I didn't get around to an advent
wreath, this year, but I surely
made up for it, yesterday! :)

Wednesday, December 11, 2013

Oh, Boy! JOY!

OK, so it didn't end up the way I
thought it would.

OK, so it would have been
a lot less work to do it "right."

It cost me nothing but what
I already had.

It says what I wanted it to say.

I had a roll of contact paper.

I bought it at Goodwill for $1.

I had some permanent markers.

I bought them at Wal-Mart for
around $13.

They were both well used,
before I started this.

What I really thought of
was a lush, three letter
motto that reminded
us of the Reason
for the season.

This will do...
...for now...

and it peels off easily. :)

God bless you with Joy
beyond the merriment.


Tuesday, December 3, 2013

Gluing What I Have, Plus a Little

With the lights on:
I got out the good old Elmer's School
Glue, again.  I stopped at Dollar Tree
for a pack of tissue paper.  I may have
some tissue paper, but this was cute...
oh, dear.

I did have the footed bowl, though.
That was a thrift store find.
I don't remember how long ago
or what I paid for it...

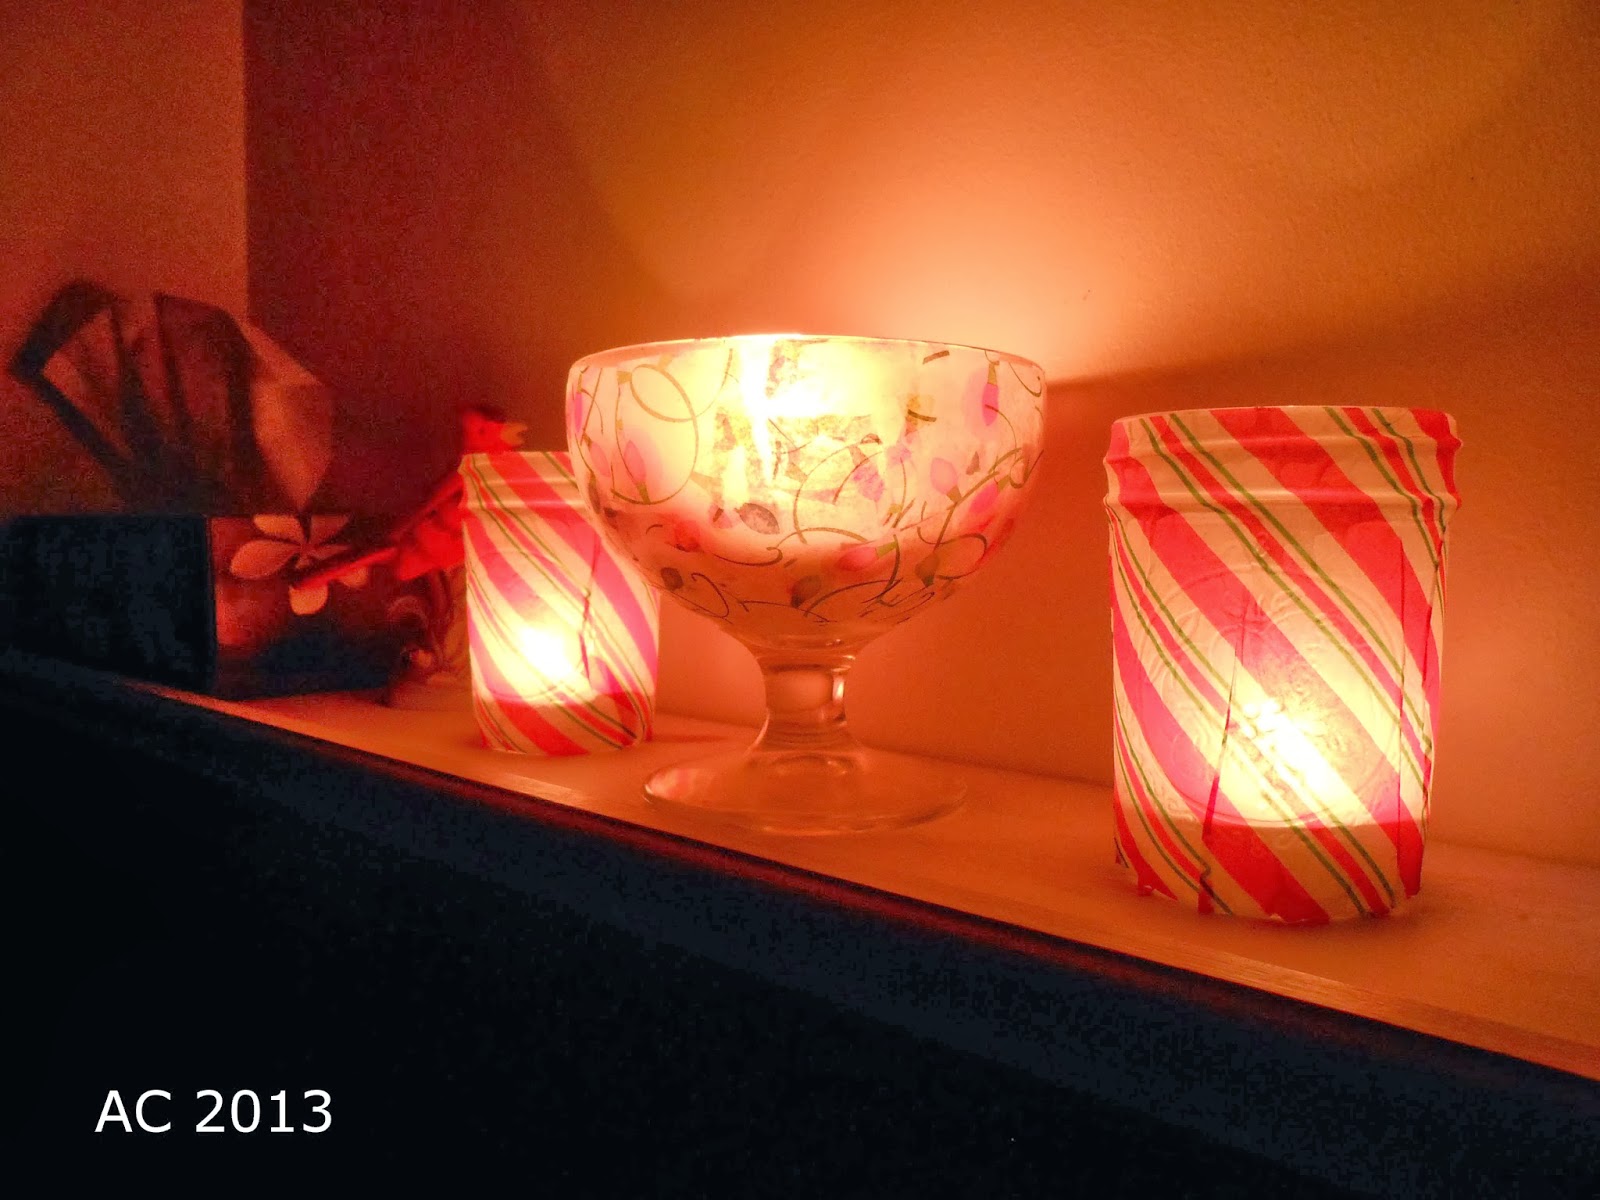
By candlelight:
The candy striped votive holders
are empty Ball jars from my cellar.
The tissue was cut almost to size
for the jars.
For the bowl it was torn into small
pieces.

I spread glue over the glass with a
wet paintbrush.

The patchy paper was put on,
a piece at a time, overlapping.
To save cutting, I lined straight
edges up with the rim of the bowl.

For the jars I "painted" the
whole thing with glue and water.
Lining up the straight edge
with the rim of the jar, I
pressed the top into place.
The taper of the jar made for
wrinkles in the tissue.
I didn't mind, I just kind of
glued them over.

I also brushed gluey water
over the top of the paper.
This can tear the wet tissue,
so, it was an adventure.

Eat Violets!
(et voila)

I popped some tealights from my
supply and a over-half-burned
pillar candle from Christmas past
into my little vessels and lit them.

Total out of pocket cost: $1
AND I still have most of the tissue. :)

Monday, December 2, 2013

More Recycled Cone Trees

We only buy a newspaper
once in a while.
This is one of those free
papers from the supermarket.
Does everybody have those?

I got very technical about drawing
circles on my paper.

They got cut out

then cut in half

and in half, again.
I was very technical about
bisecting my circles, too!
I folded them in half.

A little (or a lot) of glue.

and a little fiddling to get the sides
glued together just right (not)

and I soon had a small forest!
If I hadn't been so lazy,
I could have made different sizes. :)

Sunday, December 1, 2013

Recycled Cone Tree

OK, so I have way too much
stuff. If I had less stuff, there
would still be decorations and
ornaments that would be
missed if I didn't pull them out.

Still, I was thinking of low cost
or even no cost, crafty stuff.

So, removing a box from
the recycling bin, I cut
a quarter circle from it.

Forming a cone from it
was a bit tricky for a person
like me with perfectionist
tendencies. 

I used a piece of tape to hold it together.
(The tip of the cone was a little more
satisfactory after I pinched the
stiffness out of it.)

You could leave the cone plain
cardboardy brown.
I decided to wrap leftover
yarn around mine.
Good old Elmer's school
glue holds pretty well and
is a snap to clean up.

I spread mine out with a dampened
paintbrush, but a piece of left over
cardboard works very well and
requires no clean up.
The brush will never be the
same, again, I have heard,
so I would never use a good
brush for this.

Eat Violets!
(Et voila)
I could add a top.
I could decorate around
the bottom.
I could add beads or glitter
or both.

Well, it was fun,
anyway. :)